Consigliere's 2004 Unbuild

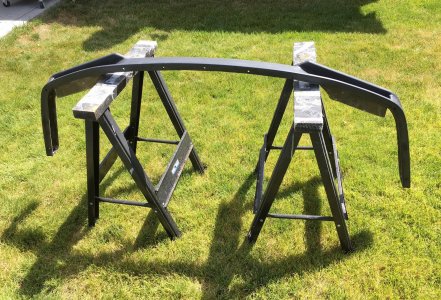
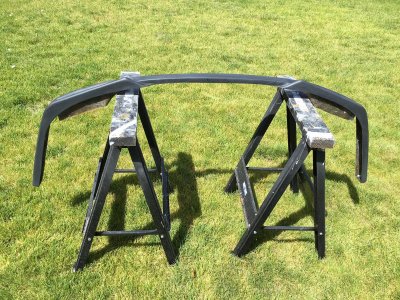
Thanks RUNDLC. Here are a few more pics after getting it back from the paint shop.

attachment.php

attachment.php

attachment.php

attachment.php

attachment.php

attachment.php
attachment.php

attachment.php
 

Attachments

  • Spoiler 30.jpg
    Spoiler 30.jpg
    196.3 KB · Views: 624
  • Spoiler 31 2.jpg
    Spoiler 31 2.jpg
    252.8 KB · Views: 627
  • Spoiler 29 2.jpg
    Spoiler 29 2.jpg
    171.3 KB · Views: 620
  • spoiler 33 2.jpg
    spoiler 33 2.jpg
    226.6 KB · Views: 624
  • Spoiler 34.jpg
    Spoiler 34.jpg
    269.8 KB · Views: 625
  • Spoiler 35 2.jpg
    Spoiler 35 2.jpg
    227.1 KB · Views: 618
  • spoiler 36 2.jpg
    spoiler 36 2.jpg
    230 KB · Views: 618
  • Garage.jpg
    Garage.jpg
    189.7 KB · Views: 616
Last edited:
Friend's Lip

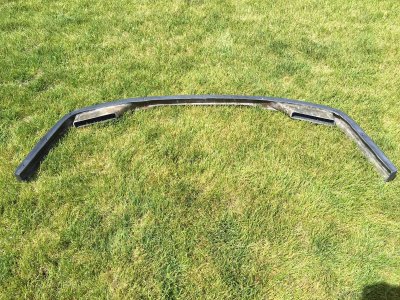
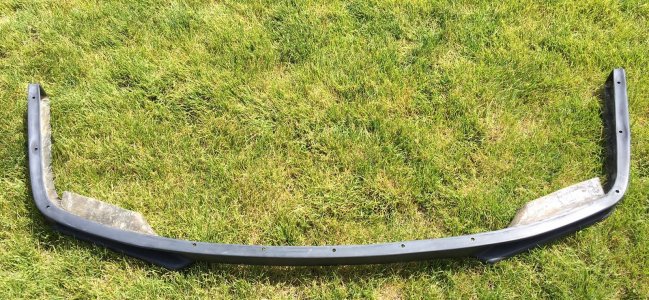
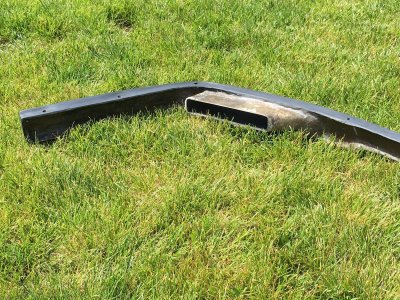
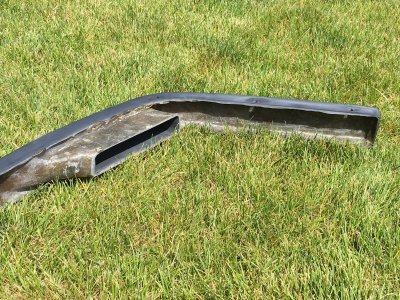
A friend asked if I would pull a second spoiler for his car and then post some closeup pics of the finished product. Here are those pics of his lip after scuffing it with 600 grit sandpaper in preparation for paint. This is the first time I've paid any attention to cost and was surprised find out I used just shy of $100 in materials (PVA, gelcoat, resin, mat, etc.) for a single spoiler. Between the cost and labor involved, I now have a better appreciation of why some of those aftermarket parts are so costly.

attachment.php

attachment.php

attachment.php

attachment.php

attachment.php

attachment.php

attachment.php

attachment.php

attachment.php

attachment.php

attachment.php

attachment.php

attachment.php

attachment.php

attachment.php

attachment.php
 

Attachments

  • Spoiler 1.jpg
    Spoiler 1.jpg
    797.5 KB · Views: 552
  • Spoiler 2.jpg
    Spoiler 2.jpg
    471.8 KB · Views: 548
  • Spoiler 3.jpg
    Spoiler 3.jpg
    554.2 KB · Views: 553
  • Spoiler 4.jpg
    Spoiler 4.jpg
    664.8 KB · Views: 550
  • Spoiler 5.jpg
    Spoiler 5.jpg
    584.4 KB · Views: 540
  • Spoiler 6.jpg
    Spoiler 6.jpg
    543.7 KB · Views: 546
  • Spoiler 7.jpg
    Spoiler 7.jpg
    662.7 KB · Views: 543
  • Spoiler 8.jpg
    Spoiler 8.jpg
    695.9 KB · Views: 541
  • Spoiler 9.jpg
    Spoiler 9.jpg
    666.4 KB · Views: 543
  • Spoiler 10.jpg
    Spoiler 10.jpg
    634.8 KB · Views: 544
  • Spoiler 12.jpg
    Spoiler 12.jpg
    418.5 KB · Views: 546
  • Spoiler 13.jpg
    Spoiler 13.jpg
    420.7 KB · Views: 544
  • Spoiler 14.jpg
    Spoiler 14.jpg
    562.6 KB · Views: 545
  • Spoiler 15.jpg
    Spoiler 15.jpg
    524.3 KB · Views: 552
  • Spoiler 16.jpg
    Spoiler 16.jpg
    402.9 KB · Views: 546
  • Spoiler 17.jpg
    Spoiler 17.jpg
    619.7 KB · Views: 539
A friend asked if I would pull a second spoiler for his car and then post some closeup pics of the finished product. Here are those pics of his lip after scuffing it with 600 grit sandpaper in preparation for paint. This is the first time I've paid any attention to cost and was surprised find out I used just shy of $100 in materials (PVA, gelcoat, resin, mat, etc.) for a single spoiler. Between the cost and labor involved, I now have a better appreciation of why some of those aftermarket parts are so costly.

attachment.php

attachment.php

attachment.php

attachment.php

attachment.php

attachment.php

attachment.php

attachment.php

attachment.php

attachment.php

attachment.php

attachment.php

attachment.php

attachment.php

attachment.php

attachment.php
Please make one for NA1! Love it!
 
Garage Door Opener

Up until recently I stored my garage door opener in the center console which was convenient, but still kept it out of sight. Now that it's top off weather, however, I've had to rethink its placement since anyone can now simply reach in and grab it. I tried locking it in the glove box for a couple of weeks, but that turned out to be more of a hassle than it was worth. It kept it safe, but I had to turn off my car to use the key to open the glovebox each time I entered or exited my garage which was almost more troublesome than getting out and using the keypad on the house.

I chose to semi-permanently mount the garage door opener where it was convenient, but couldn't be stolen. The easiest way to to do this was to hardwire it to a momentary switch. I wanted to keep a clean factory look, so I opted to replace the coin tray in my center console with a JDM/EDM switch panel. I purchased the panel, a fog light switch and a blank insert from SOS. I then sourced a pair of left and right heated seat switches from a '96-`04 Acura TL/RL at a local wrecking yard. I'm not in a huge rush to install fog lights or heated seats in the car, but the option is now there if I decide to later on and those particular accessories fill up the switch panel nicely. Ya, I know, that's a lot of money for items I may or may not ever use, but I'm trying to keep the car looking as stock"ish" as possible.

Anyway, I soldered a momentary switch to the circuit board of my garage door opener and then recessed it into the back of the switch blank I purchased from SOS. I realize this isn't some kind of earth shattering revelation because many of you have done similar. Nevertheless, it solved my problem and is now convenient, factory looking and doesn't necessarily scream "here's my garage door opener!".

attachment.php

attachment.php

attachment.php

attachment.php

attachment.php

attachment.php

attachment.php
 

Attachments

  • Before.jpg
    Before.jpg
    210.2 KB · Views: 426
  • IMG_0552.jpg
    IMG_0552.jpg
    344.8 KB · Views: 421
  • IMG_0553.jpg
    IMG_0553.jpg
    277 KB · Views: 425
  • IMG_0557.jpg
    IMG_0557.jpg
    279.8 KB · Views: 420
  • IMG_0561.jpg
    IMG_0561.jpg
    232.7 KB · Views: 425
  • After.jpg
    After.jpg
    225.3 KB · Views: 422
  • IMG_0563.jpg
    IMG_0563.jpg
    205.9 KB · Views: 421
Last edited:
God. What a nice clean build.

It seems every time I try to do some custom "DIY" thing, my stuff always turns out terrible, LOL.

However, it seems like you have some body work knowledge. Great looking car man. Look forward to seeing more.
 
^^^ what compton ass says.... This is not simple DIY. Very well done. Start a vendor thread please!
 
Rear Wing

Thanks JINKS and COMPTONASSDANIEL. Unfortunately, I have absolutely no previous bodywork experience, so I'm learning all of this as I go along...God bless Youtube.

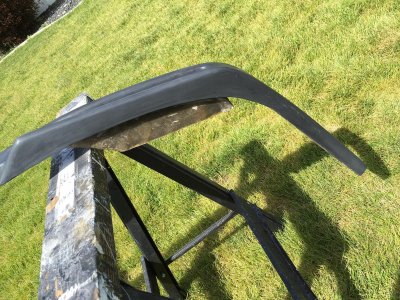
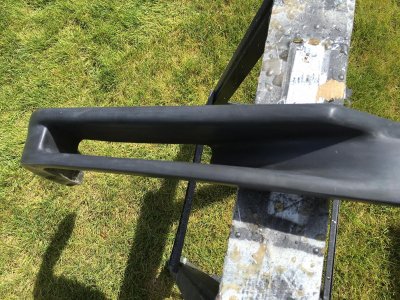
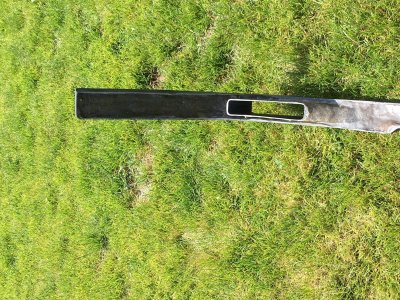
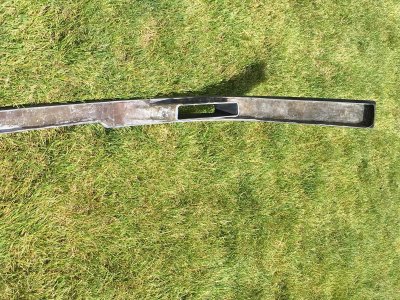
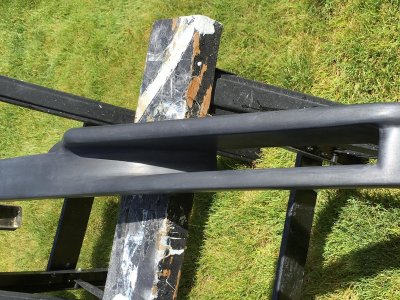
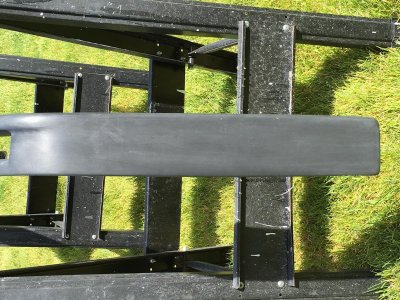
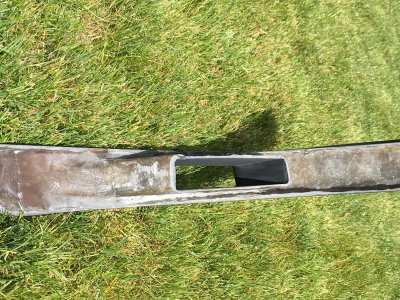
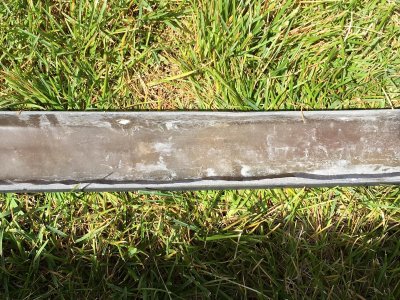
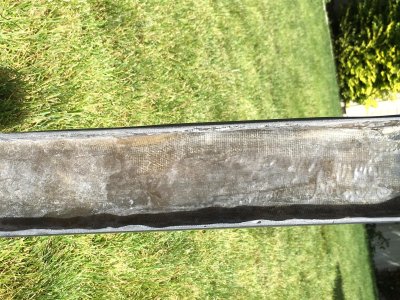
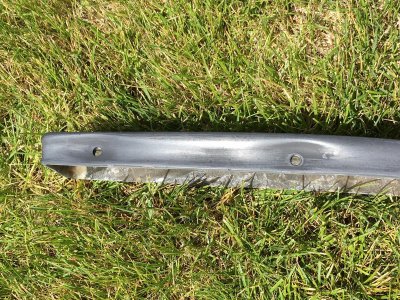
Anyway, I good friend of mine recently hooked me up with a rear wing to start my next project. I really like the look of the factory wing because it flows well with the existing body lines. Just like the rest of my car, however, I wanted something that looked factory, yet edgy. What I have decided to do is to make a motorized "flap" in the existing rear wing similar to what you see on an airplane wing. When it's down it will fit flush with the rest of the wing and you won't hardly notice it. But when it's raised it will create additional downforce and hopefully look cool doing it.

The trick is going to be fitting a pair of linear actuators inside the wing to raise and lower it, but I'm pretty confident I can make it work. Once I'm done I may pull a mold of the flap and bucket it sits in in the event I decide to do something similar to another wing in the future. Here are a few pics as I get started and I'll try to add more as I go along.

attachment.php

attachment.php

attachment.php

attachment.php
 

Attachments

  • 1.jpg
    1.jpg
    391 KB · Views: 261
  • 2.jpg
    2.jpg
    355.3 KB · Views: 267
  • 3.jpg
    3.jpg
    358.6 KB · Views: 263
  • 4.jpg
    4.jpg
    359.4 KB · Views: 267
Last edited:
I'm excited to see the results of this wing. Great idea and good luck.
 
Back
Top