I know that this has been discussed a few times before but since I just did it, I thought I'd add some details.
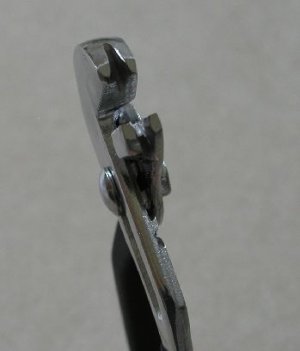
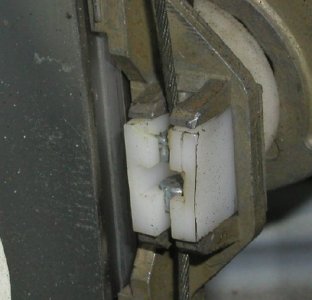
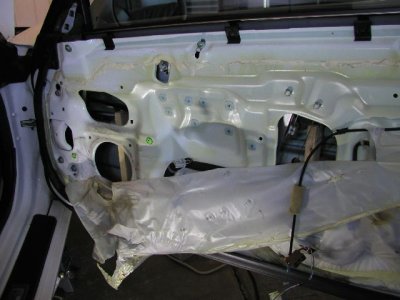
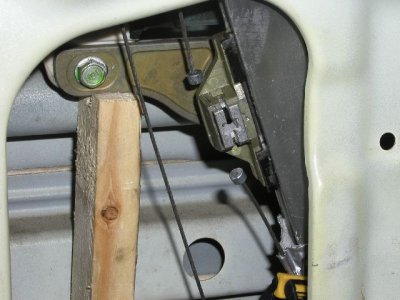
First I used a couple of 1"x2" wooden blocks, 1-12" and 1-13" long to support the window, front and rear, I cut small "V"s into one end of each, that way it grabs the window more securely. You can tape the window as well for added support but I found it wasn't necessary. Second, you MUST use the "Tool"- (modified channel lock pliers) to save a ton of time and effort to install the upper cable. After breaking the old plastic original "thingy" and installing the new one (from behind its support) you can install the lower cable just by using needle nose pliers, it will go in easily. The upper cable requires the channel lock pliers with the grove cut in each tip, it takes a few tries.
See photo. I bought my channel locks from Harbor Freight for about $4.00. I used an air powered cutting wheel to cut the groove in the ends. Don't worry about the cable ends flying out of sight when you break open the old plastic "thingy", they only move about 2-3 " and can't unravel or cause problems when loose. I DID tape the wires to the frame so when the wires let go , they didn't move much. It really wasn't bad at all, after I figured out how to do it. The previous write-ups and the "Easy-install" info on the Dali Racing web site were big helps.


