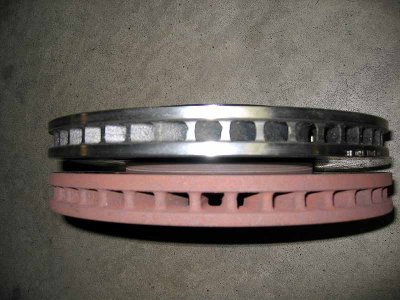
About two weeks ago, the evening before going to Spa, I decided to try and change to stock front brake-rotors to the Stoptech Aerorotors which had been on my DIY-shelf for a long time. Had tried it before but at that time could get the 17mm nuts holding the calipers off.
This time proved to be entirely different.
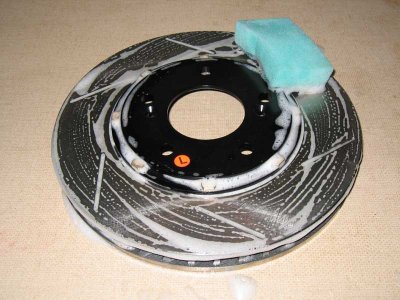
First thing I did was washing the rotors as the Stoptech rotors are coated with a rust preventative which you remove with ordinary soap.
Next step is jacking the car up and remove the (front)wheels. I had bought a long bar and a nice new (read: big) 17mm socket before. Then sprayed the 17mm bolts with a penetrative oil.
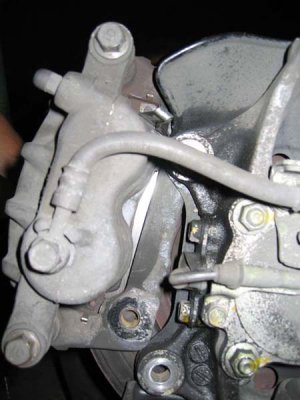
I also loosened the 14mm bolt holding the brake-pads a bit to make removal of the calipers easier later on. Then, with a bit of leverage on the long bar, both 17mm bolts came loose pretty easy this time. Do make sure your socket are on tight. I used a hammer to make sure they had slipped over the bolt heads entirely.
It took a little effort to get the caliper loose but because I had partly undone the 14mm bolts already, it wasn't so hard. Then, I suspended the whole caliper with a piece of rope to make sure I was not putting any stress on the brakeline.
Next step was getting those two Philips-screws which are holding the rotor loose. For this you really need a impact screw-driver. But before, I scratched the two screws with my Spyderco in one place so I would notice if the screws came loose. Then started to hammer away. It took a while but after some really good blows the screws came loose. From then on, taking the rotors off was easy.
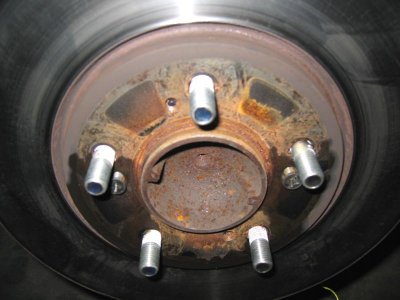
The Stoptech rotors each have a label, indicating of which side they should go. Before putting them on, I sanded the rust of the hub with some sanding-paper in about five minutes.
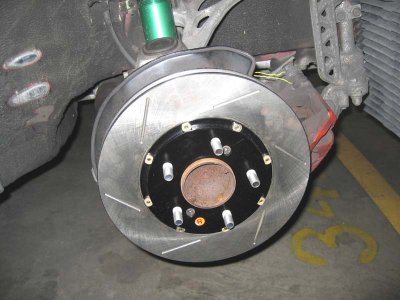
Then, put the rotors on. In my case, I decided to put the Philips-screws back on and fixed them with just a light tap with the impact-screwdriver. Then, I put the calipers back. Since the Stoptech manual told me to used new brake-pads I also put on a set of new Axxis Ultimate pads. This is all there is to it.
I repeated the whole exercise on the other side. All in all it took me (first timer) just a little over two hours and I'm sure that I would be quite a bit faster another time.
One thing I noticed was that the ventilating holes in the OEM-rotors go simply straight from outside to inside. The Aerorotors are really curved.
The next day, I followed the guide-lines for breaking in new rotors and pads by doing about 10-12 60-20 braking runs with moderate pressure on the brakes with some time in between. This was followed by a few runs going from 80-20.
I experienced no brake-shudder of anykind whatsoever.
During my time on the track at Spa two days later I also had zero problems with the brakes. Even at the end of the straights, when you are doing about 130mph and have to go back to 40 in order to make the turn, I consistently started braking too soon.
Some pictures of the install are listed below:
Washing the Stoptech Aerorotors with houshold soap:


