DIY for windshield molding (TSB 93-013)

Joined
10 September 2002
Messages
7,128
Location
Phoenix
I tackled the windshield molding this weekend, and thought I'd share what I learned. Thanks goes to Nalesh (mickeylex) for providing invaluable advice, and I am including some of his tips in this writeup. Contrary to what some people have been told, the windshield does not need to be removed for this procedure. For reference, please see the TSB:

http://www.nsxprime.com/FAQ/Reference/tsb/93-013.htm

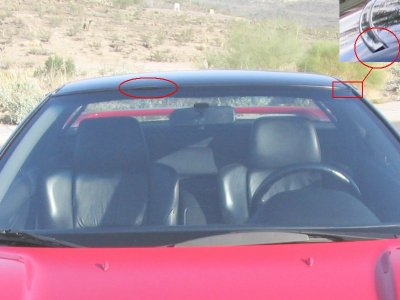
This is what my old molding looked like. I had it replaced in October of 2002, but the installer (outsourced by a local shop) did not do a good job. I chose to redo it myself instead of chancing it again with another professional.
 

Attachments

  • old_molding.jpg
    old_molding.jpg
    62.7 KB · Views: 776
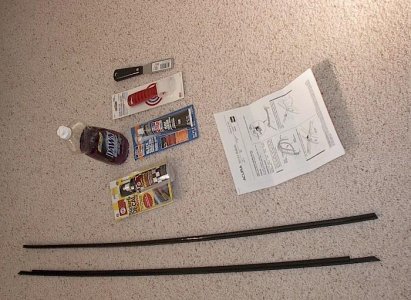
Here are the parts and tools I used. Not pictured are a needle nose plier, philips screw driver, razor blade, shop vac, and other garage stuff.

I replaced both the upper molding and fastener, but the procedure is much simpler if you can reuse the existing upper fastener and only replace the molding. My upper fastener was pretty much demolished from prior botched "fixes", so I had no choice but to replace it. Figure about half a day to do both the upper molding and fastener, otherwise no more than an hour for just the molding.
 

Attachments

  • 01_parts.jpg
    01_parts.jpg
    89.4 KB · Views: 719
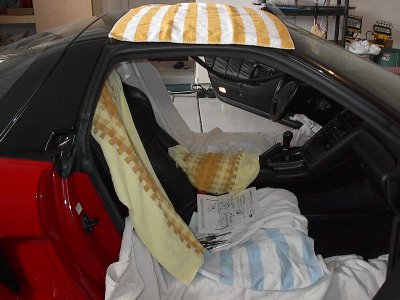
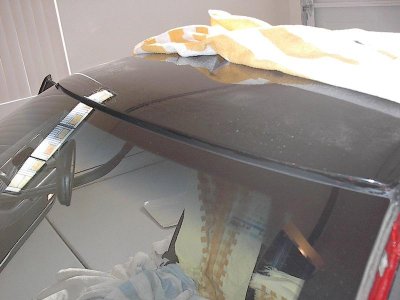
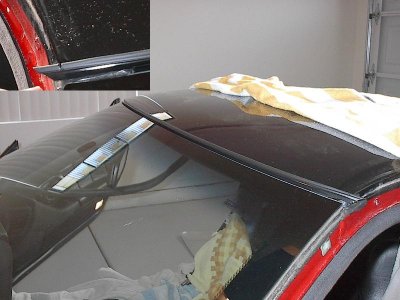
Cover your door sills and roof with towels. Unless you are extremely tall, you will be standing on the sill to perform the install. I covered the seats too, for good measure.
 

Attachments

  • 02_towels.jpg
    02_towels.jpg
    71.6 KB · Views: 682
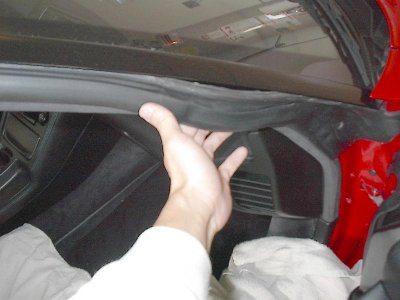
Begin by removing the weatherstrip covering the front pillar. Work the weatherstrip from bottom first, and gently pull it off to reveal the front pillar. When putting them back, tuck in the bottom first.
 

Attachments

  • 03_weatherstrip.jpg
    03_weatherstrip.jpg
    56.3 KB · Views: 690
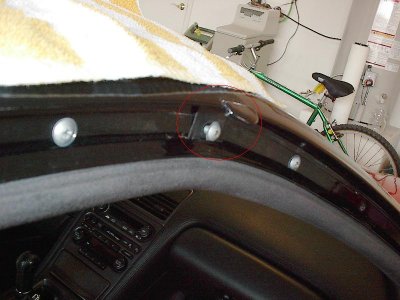
Next, remove the screws holding the front pillars in place, and put them in a container so you don't lose them. Pay special attention to the screw under the black clip (pictured), it is not self-tapping like the others and has to go back in that spot.
 

Attachments

  • 04_screw.jpg
    04_screw.jpg
    67.7 KB · Views: 694
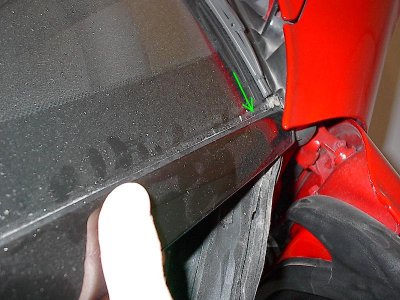
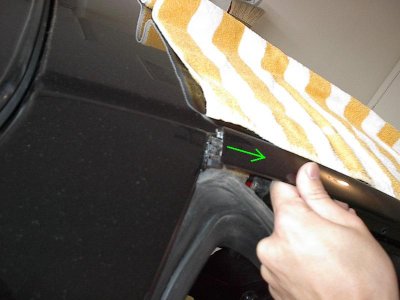
Gently work the front pillar to remove it. The front slides out as shown.
 

Attachments

  • 05_pillar.jpg
    05_pillar.jpg
    93.4 KB · Views: 697
Slide the front pillar forward to disengage it. Do not force it if it sticks. Gently work it back and forth until it comes loose.
 

Attachments

  • 06_pillar.jpg
    06_pillar.jpg
    50.3 KB · Views: 676
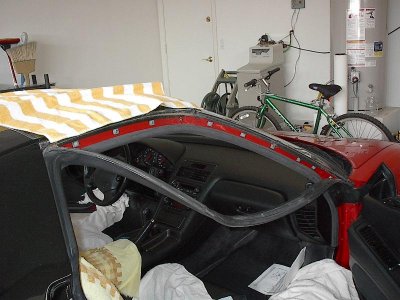
Remove the front pillar and set it somewhere safe with the screws. Do this for both the driver and passenger side.
 

Attachments

  • 07_exposed.jpg
    07_exposed.jpg
    78.9 KB · Views: 673
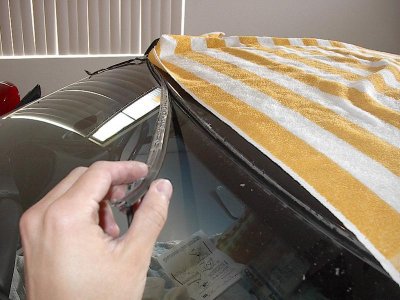
If you haven't already, pull off the old molding. Now you can check the condition of the upper fastener. If it looks good, don't replace it. If it's mangled and doesn't look useable, you should replace it. Pull it off as well if that is the case.
 

Attachments

  • 08_fastener.jpg
    08_fastener.jpg
    76.6 KB · Views: 696
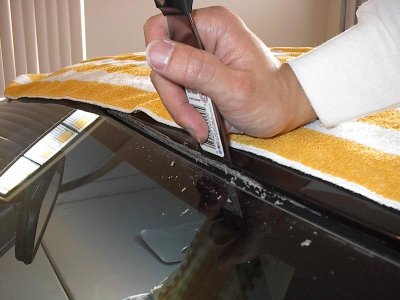
If you're reusing the old upper fastener, skip the next few steps. Otherwise, you're going to need some elbow grease. Using a combination of putty knife, adhesive remover (Goo Gone or similar product) and your fingers, remove the old adhesive left behind by the upper fastener. Take your time, and don't use too much force or you could scratch the roof. Use a shop vac to clean up the residue.
 

Attachments

  • 09_adhesive.jpg
    09_adhesive.jpg
    63.9 KB · Views: 668
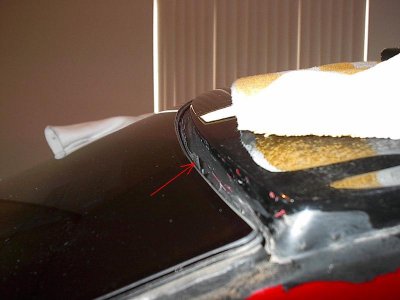
Here is where I deviated from the TSB. According to the illustration in step 3 of the TSB, the gap where the upper molding and fastener sits should be clear of debris. However, as you can see there is a rubber seal just above the the windshield. I think it may have been part of the original fastener, or possibly installed along with the windshield.

(By the way, the red spots are where I was too aggressive with the putty knife, and scratched the black liner. So be careful, and take your time removing the old adhesive!)
 

Attachments

  • 10_remnants.jpg
    10_remnants.jpg
    47.1 KB · Views: 695
Here's another view of the rubber seal. You can't really see it, but it's shaped like a wiper blade, with the thick part glued to the bottom, tapering upward to the edge. I decided to cut it off (using a box cutter & exacto knife) to make certain there's enough clearance for the new molding.
 

Attachments

  • 11_remnants.jpg
    11_remnants.jpg
    60.8 KB · Views: 678
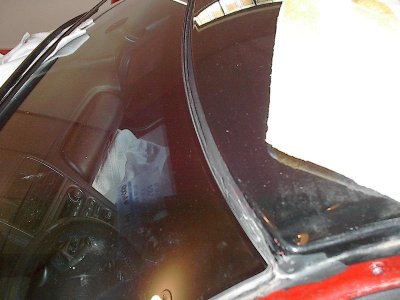
Here's what the gap looks like after I removed the rubber seal to make room for the new molding and fastener.
 

Attachments

  • 12_removed.jpg
    12_removed.jpg
    69.3 KB · Views: 665
The surface is now prepped for attaching the new upper fastener. Make sure it's thoroughly clean and dry, then do a dry fit of the upper fastener to get a rough idea of where to position in place.
 

Attachments

  • 13_cleaned.jpg
    13_cleaned.jpg
    53.4 KB · Views: 636
After successfully dry fitting the upper fastener, peel off the tape backing and attach the piece to the roof.
 

Attachments

  • 14_new_fastener.jpg
    14_new_fastener.jpg
    66.4 KB · Views: 659
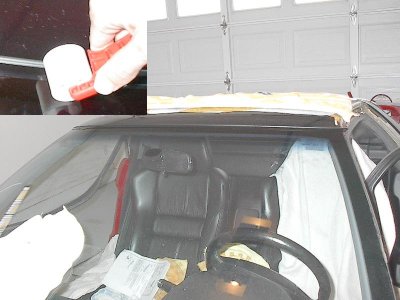
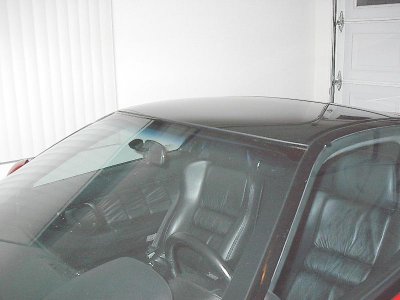
Now you are ready to install the new molding. Per the TSB, remove the stiffener (the illustration doesn't show it well, but it's jammed in the "J" part of the molding; it is NOT the tiny stapled rubber part) from each end of the new molding and set them aside, and lubricate the molding (dishwashing liquid works great, just squeeze enough onto your palm and apply). Follow the instructions for installing the molding, it may take a few tries to get it centered properly. Once centered, press the molding into place. The wallpaper seam roller (use wood or plastic, not metal) works great for working the upper edge of the molding beneath the lip of the upper fastener as shown in the figure in step 7 of the TSB.

By the way, the FAQ suggests gluing the molding. I opted not to do this, as I didn't want to deal with the mess.
 

Attachments

  • 15_new_molding.jpg
    15_new_molding.jpg
    62.3 KB · Views: 647
Great write up and pics PHOEN$X mine needs to be done and this will come in very handy.
 
Once the molding is installed, re-insert the stiffeners that you removed earlier back into the ends of the molding. Push them into place with a screwdriver or pliers so that they are completely under the glass. Finally, reinstall the front pillars (tuck the molding and ends of the upper fastener under the front pillar rubber gasket), then put the weatherstrips back in place. Seal the front ends of the weatherstrips with black weatherstrip adhesive if needed.

Now wash and wax your car, and you are done!
 

Attachments

  • 16_finished.jpg
    16_finished.jpg
    50.2 KB · Views: 644
looks great

Kelvin,
Excellent job and great write up. I'm glad I was able to help. It took some elbow grease, but you did a very clean replacement. It should be good for years to come and with the new design of the upper molding it may never shrink again.
 
Back
Top