- Joined
- 6 December 2009
- Messages
- 110
The blue "burnt" look is quite popular on exhausts these days. It is a trademark of titanium exhausts but can easily be achieved on stainless steel as well. The blue discoloration is a result of extreme heat. If the metal is heated until it turns red, a blue color appears when it cools back down.
Materials needed:
rags
metal polish
degreaser/soap
blowtorch (propane, butane, whatever)
1. Polish the metal
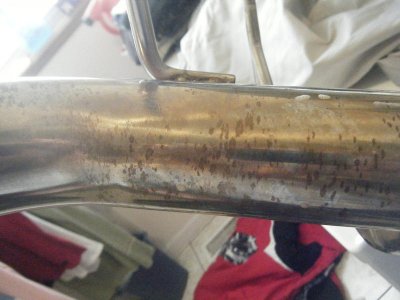
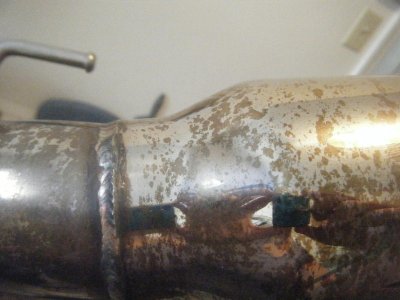
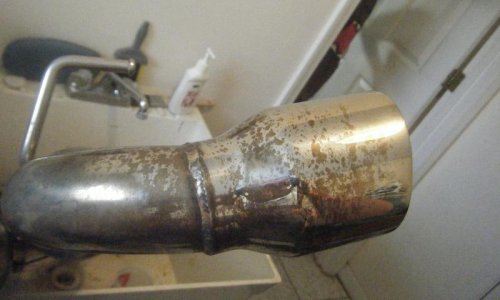
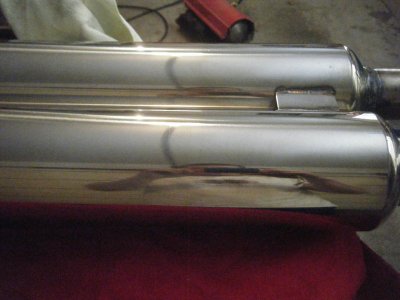
Before you can burn the tips, the metal must be well polished. When I got my GTLW, the tips were clean and shiny, but had a slight bronze tint to them. The metal needs to look sliver to get the best results. You can use pretty much any metal polish you want. This is what I had in the garage:
 (goofy name not required
  )
)
Apply the polish with a rag and rub it in by hand. Unless the metal is really oxidized. This should only take a few minutes on each tip. If the metal is in bad shape you can always use a buffer.

When you are done, the metal should look nice and shiny with no discoloration.

2. Clean the metal
You don't want to have any polish residue left on the metal when you put fire on it. Use your soap, degreaser, or whatever you prefer to clean the metal thoroughly.
3. Heat the metal
Now comes the hard (and fun) part. Ignite your torch and begin slowly heating the metal. Move the flame evenly around the outside of the tip. It will take a while before the metal gets hot enough to glow. Once you have gotten the metal pretty hot, you can slow down and focus on a smaller area of the tip's perimeter. Slowly move the flame back and forth until the metal turns red. I would recommend doing this part very slowly until you know how hot to get the metal. You aren't aiming for light bulb type incandescence here. If the metal gets to hot, it will not turn blue when it cools. It will look the same as normal metal but is oxidized and will not turn blue until you polish it again. The goal is to get a mild glow. If you are uncertain, apply less heat and allow the metal to cool and check the color before proceeding. In terms of heat, the color will vary as follows:
Low heat
slight brass tint
deep bronze
purple-pink
dark blue
light blue
silver
High heat
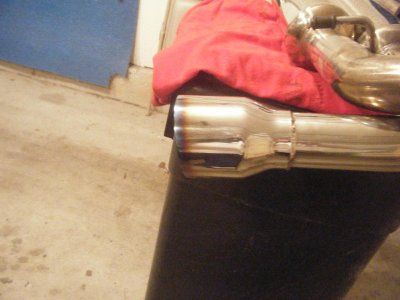
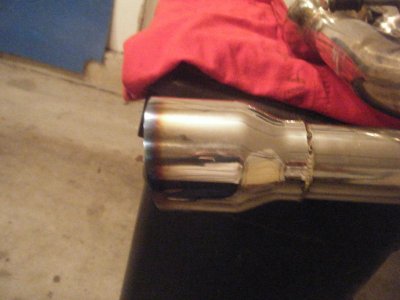
If you applied the heat correctly, it should look similar to this:

If you don't get it right the first time, no problem. Simply polish off the discoloration and try again. Just note that removing the blue or second silver color will take significantly more elbow grease than the first time you polished the metal.
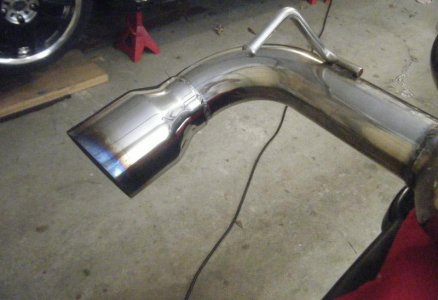
If you got the desired look, congrats. Put the exhaust on the car and enjoy a stylish look like this:

Materials needed:
rags
metal polish
degreaser/soap
blowtorch (propane, butane, whatever)
1. Polish the metal
Before you can burn the tips, the metal must be well polished. When I got my GTLW, the tips were clean and shiny, but had a slight bronze tint to them. The metal needs to look sliver to get the best results. You can use pretty much any metal polish you want. This is what I had in the garage:

Apply the polish with a rag and rub it in by hand. Unless the metal is really oxidized. This should only take a few minutes on each tip. If the metal is in bad shape you can always use a buffer.

When you are done, the metal should look nice and shiny with no discoloration.

2. Clean the metal
You don't want to have any polish residue left on the metal when you put fire on it. Use your soap, degreaser, or whatever you prefer to clean the metal thoroughly.
3. Heat the metal
Now comes the hard (and fun) part. Ignite your torch and begin slowly heating the metal. Move the flame evenly around the outside of the tip. It will take a while before the metal gets hot enough to glow. Once you have gotten the metal pretty hot, you can slow down and focus on a smaller area of the tip's perimeter. Slowly move the flame back and forth until the metal turns red. I would recommend doing this part very slowly until you know how hot to get the metal. You aren't aiming for light bulb type incandescence here. If the metal gets to hot, it will not turn blue when it cools. It will look the same as normal metal but is oxidized and will not turn blue until you polish it again. The goal is to get a mild glow. If you are uncertain, apply less heat and allow the metal to cool and check the color before proceeding. In terms of heat, the color will vary as follows:
Low heat
slight brass tint
deep bronze
purple-pink
dark blue
light blue
silver
High heat
If you applied the heat correctly, it should look similar to this:

If you don't get it right the first time, no problem. Simply polish off the discoloration and try again. Just note that removing the blue or second silver color will take significantly more elbow grease than the first time you polished the metal.
If you got the desired look, congrats. Put the exhaust on the car and enjoy a stylish look like this:

Last edited:


