Hello Everyone,
If both your back-up lights don't work when in reverse gear, you've got 5 possible problems:
1. Blown bulbs.
2. Blown fuse.
3. Gear Selector (Automatic Transmission Only)
4. Bad ground
5. Back-Up Light Switch
__
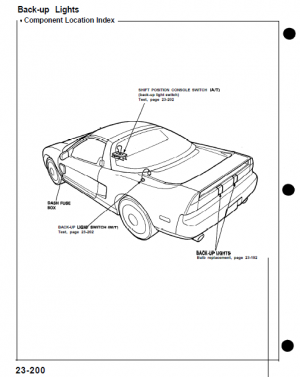
You can find the relevant pages in the 1991 Service manual beginning at 23-200 (and 13-3 for switch replacement):

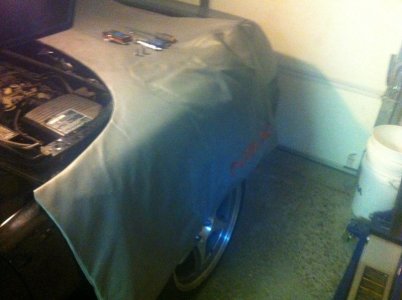
Remember to protect your paint! Use a work pad.

__
1. Blown bulbs.
>Well, this one's unlikely if BOTH bulbs do not work.
2. Blown fuse.
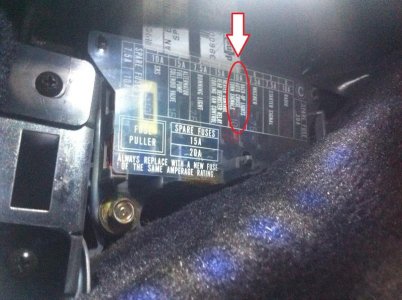
> If this is the problem, it's an easy fix. In the driver side footwell, remove the fuse box panel to expose the Number 5 (10 A) fuse:

3. Gear Selector (Automatic Transmission Only)
I've got a 5 speed so I didn't have to trouble shoot this!
4. Bad ground
Hopefully not the problem, but reference the wiring diagrams in the service manual.
5. Back-Up Light Switch
Here are all the tools you'll need:
Car Key
19 mm wrench
Philips screwdriver
10 mm socket (and extensions)
__
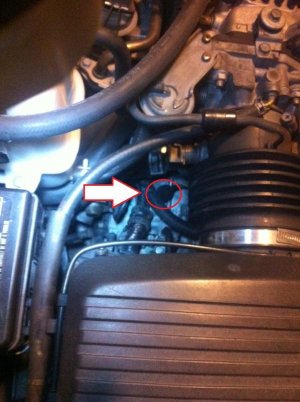
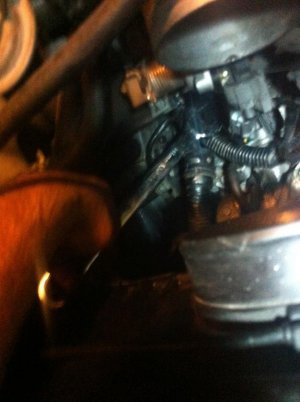
> This back-up light switch is located in the engine bay, screwed to the transmission housing.

> It is easiest to access the switch by removing the rubber tubing between the airbox and the throttle body. This is an easy removal (6 Philips head screws hold the airbox on, and two hose clamps hold the rubber tubing to the airbox & throttle body).
>Once the air-intake tube is removed some wiring looms are easily seen, these can be moved aside by removing a 10 mm bolt (trust me this is necessary to get at the switch).

> Next the switch can be removed.
First, unclip the electrical connector (this is a pain, the connector must be removed from the loom connector, and a bracket that keeps the two connectors mounted to the transmission housing).
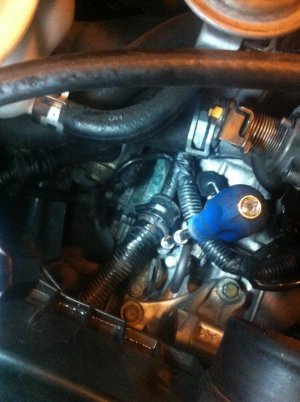
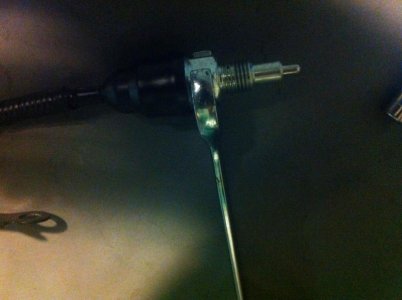
Next, the switch has a rubber outer shell. This rubber shell must be pushed up to expose the 19 mm hex portion of the switch. Here is a photo showing the exposed 19 mm hex:

Finally, a 19 mm wrench can be used to unscrew the switch from the transmission housing. While the clearance is tight, I'd recommend using a larger wrench, as the switch takes a lot of grunt to remove/tighten!

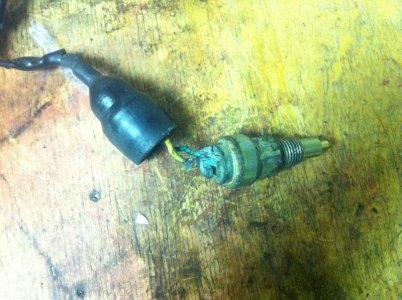
Upon removal, here's what my switch looked like:

One of the contacts of the switch had completely vaporized. I believe this is due to residual coolant leaking from the coolant hose (located above the switch), slowly chewing up the contact..
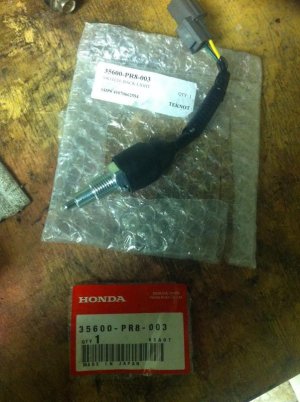
I had to have the switch replaced, about a ~$50 part or so.
35600-PR8-003

Remember to use some liquid gasket to the threads (as per service manual) and re-connect the electrical connectors.
I put the transmission in reverse and had the ignition ON. (This way I could see once I've threated the switch in enough). You could also use a multimeter to check for continuity, however, this requires many hands. I only have two.
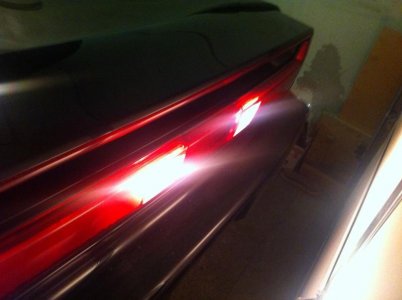
>Reverse lights!

>Remember to connect the wiring loom back to the transmission housing using the 10 mm bolt previously removed. Also, put the air-intake tube back!
That's it!:biggrin:
Cheers,
Lucas
If both your back-up lights don't work when in reverse gear, you've got 5 possible problems:
1. Blown bulbs.
2. Blown fuse.
3. Gear Selector (Automatic Transmission Only)
4. Bad ground
5. Back-Up Light Switch
__
You can find the relevant pages in the 1991 Service manual beginning at 23-200 (and 13-3 for switch replacement):
Remember to protect your paint! Use a work pad.
__
1. Blown bulbs.
>Well, this one's unlikely if BOTH bulbs do not work.
2. Blown fuse.
> If this is the problem, it's an easy fix. In the driver side footwell, remove the fuse box panel to expose the Number 5 (10 A) fuse:
3. Gear Selector (Automatic Transmission Only)
I've got a 5 speed so I didn't have to trouble shoot this!
4. Bad ground
Hopefully not the problem, but reference the wiring diagrams in the service manual.
5. Back-Up Light Switch
Here are all the tools you'll need:
Car Key
19 mm wrench
Philips screwdriver
10 mm socket (and extensions)
__
> This back-up light switch is located in the engine bay, screwed to the transmission housing.
> It is easiest to access the switch by removing the rubber tubing between the airbox and the throttle body. This is an easy removal (6 Philips head screws hold the airbox on, and two hose clamps hold the rubber tubing to the airbox & throttle body).
>Once the air-intake tube is removed some wiring looms are easily seen, these can be moved aside by removing a 10 mm bolt (trust me this is necessary to get at the switch).
> Next the switch can be removed.
First, unclip the electrical connector (this is a pain, the connector must be removed from the loom connector, and a bracket that keeps the two connectors mounted to the transmission housing).
Next, the switch has a rubber outer shell. This rubber shell must be pushed up to expose the 19 mm hex portion of the switch. Here is a photo showing the exposed 19 mm hex:
Finally, a 19 mm wrench can be used to unscrew the switch from the transmission housing. While the clearance is tight, I'd recommend using a larger wrench, as the switch takes a lot of grunt to remove/tighten!
Upon removal, here's what my switch looked like:
One of the contacts of the switch had completely vaporized. I believe this is due to residual coolant leaking from the coolant hose (located above the switch), slowly chewing up the contact..
I had to have the switch replaced, about a ~$50 part or so.
35600-PR8-003
Remember to use some liquid gasket to the threads (as per service manual) and re-connect the electrical connectors.
I put the transmission in reverse and had the ignition ON. (This way I could see once I've threated the switch in enough). You could also use a multimeter to check for continuity, however, this requires many hands. I only have two.
>Reverse lights!
>Remember to connect the wiring loom back to the transmission housing using the 10 mm bolt previously removed. Also, put the air-intake tube back!
That's it!:biggrin:
Cheers,
Lucas
Attachments
Last edited:


